How to Configure CyberSource Secure Acceptance Web/Mobile in Drupal 7

Drupal is a great platform for ecommerce. If your business needs a Drupal website that accepts payments, a good payment system to use is CyberSource Secure Acceptance Web/Mobile. This tool allows business to accept payments made online, over the phone, and through mobile devices without ever handling toxic payment data. CyberSource is owned by Visa and integrates quite nicely with Drupal Commerce.
It consists of securely managed payment forms or as a single page payment form for processing transactions. This allows you to decrease your Payment Card Industry Data Security Standard (PCI DSS) obligations, thereby reducing any risks associated with handling or storing sensitive payment information.
In order to get this up and running on your Drupal website, you simply need to follow a few steps:
- Create and configure Secure Acceptance profiles
- Configure CybeSource profile with Drupal
- See the results!
Creating a Secure Acceptance Profile
Important: For using a Secure Acceptance experience, an active profile is needed.
A Secure Acceptance profile consists of settings that you configure to create a customer checkout experience. In order to create a Secure Acceptance profile, you need to:
1. Log in to Business Center with Merchant ID:
- Live Transactions: https://ebc.cybersource.com
- Test transactions: https://ebctest.cybersource.com
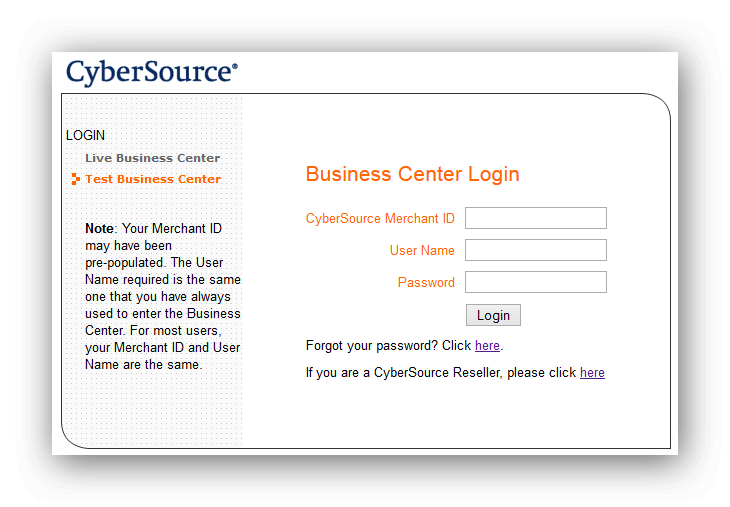
Note: If you don't have a Merchant ID you will need to create one (https://support.cybersource.com/s/)
2. In the left navigation panel, choose Tools & Settings > Secure Acceptance > Profiles > Create New Profile.
3. Enter Profile information
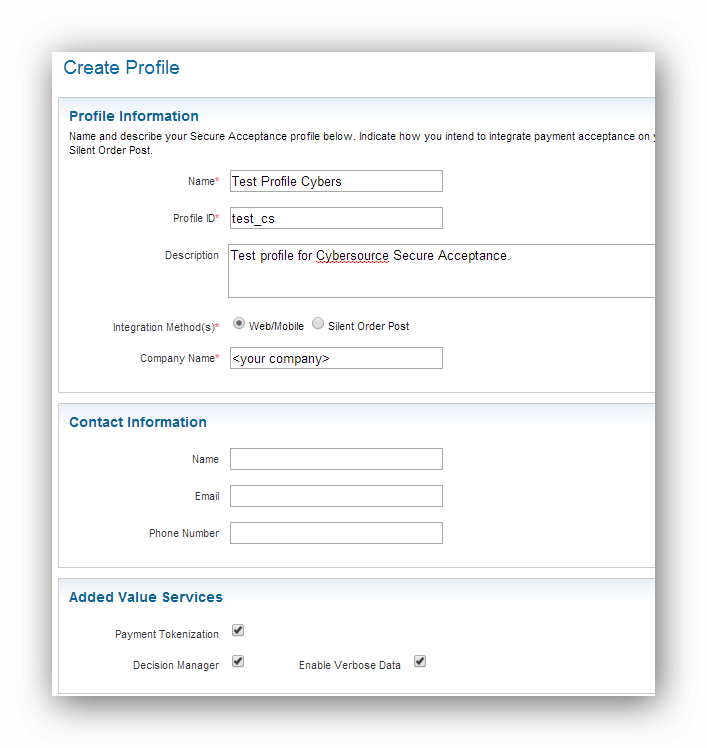
- Enter profile name
- Enter profile ID. The profile ID is case sensitive and must be exactly 7 alphanumeric characters. This field is used in each transaction to identify and display the Secure Acceptance profile.
- Enter a profile description
- Check Web/Mobile
- Enter a company name
- Check Payment Tokenization, Decision Manager, Enable Verbose Data
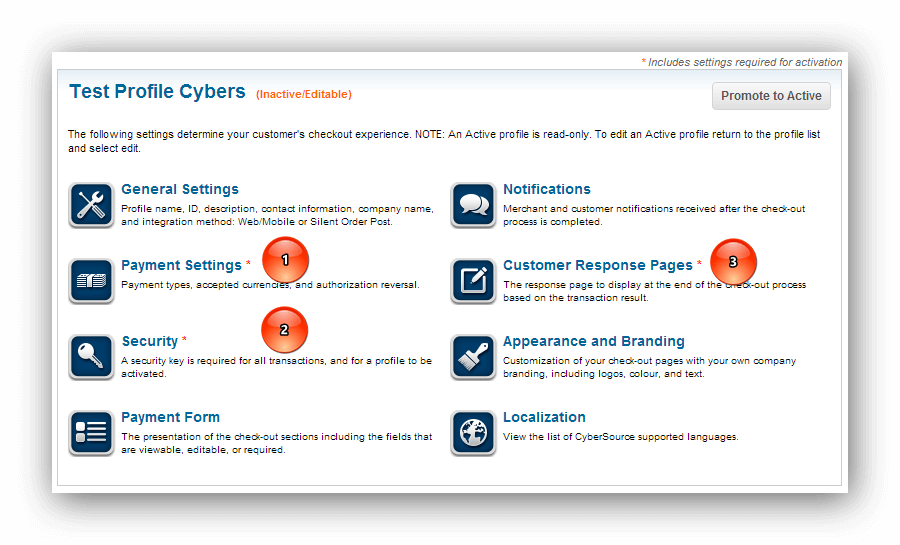
4. Click the Create button. The Profile Settings page appears. You must activate a profile in order to use it, and you must configure these required fields before activating a profile:
- Payment Settings
- Create a Security Key
- Display a Customer Response Pag
Configuring Payment Settings
You must select the card types that you wish to offer to the customer as payment methods. For each card type you select you can also manage currencies, CVNs, and payer authentication options.
The Card Verification Number (CVN) is a three- or four-digit number printed on the back or front of a credit card. This number helps to ensure that the customer has possession of the card at the time of the transaction.
To add a card type and enable the CVN you must:
- On the “Profile Settings” page, click Payment Settings. The Payment Settings page appears.
- Click Add/Edit Card Types. The Add/Edit Card Types window appears.
- Check each card type that you wish to offer to the customer as a payment method.
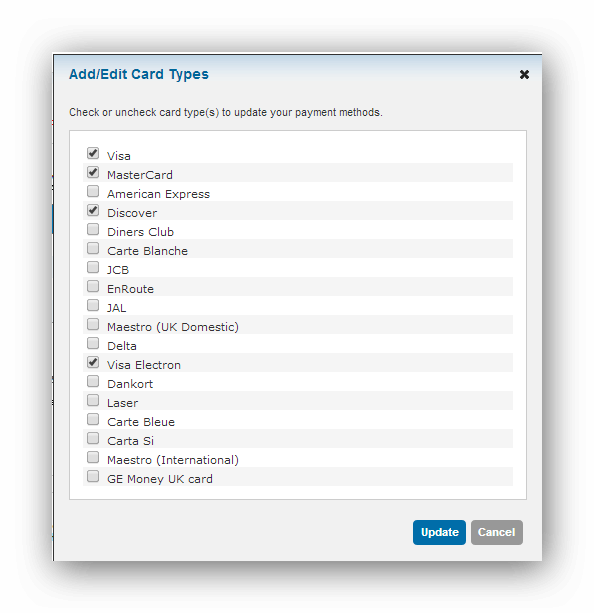
- Click Update.
- Click the pencil icon in the column for each card type. The Edit Card Settings appears.
- Check CVN Display and CVN Required to display the CVN field on Secure Acceptance.
- On the “Currencies” section click Select All or select a currency and use arrow to move it from the Disabled list to the Enabled list.
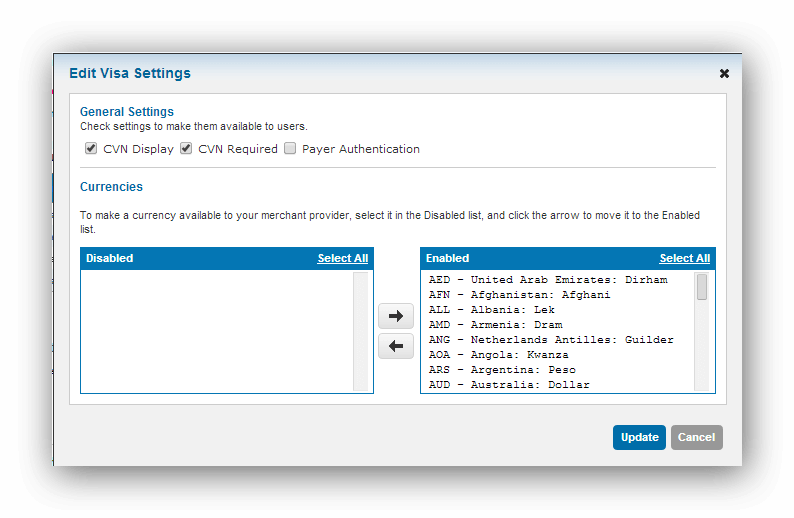
- Click Update
- In the Automatic Authorization Reversals section (on the Payment Settings page) checkFails AVS check and Fails CVN check. Authorization is automatically reversed on a transaction that fails an AVS check or a CVN check.
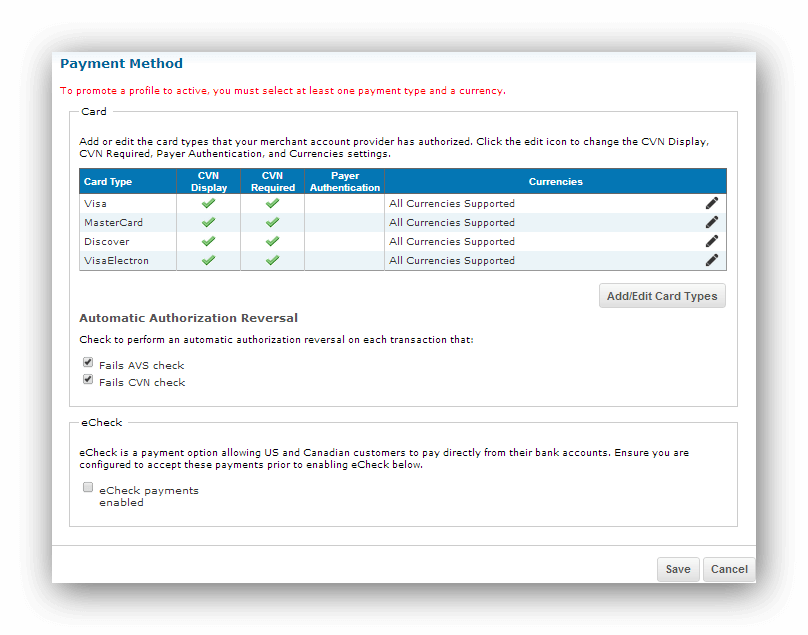
- Click Save.
Creating a Security Key
The security script signs the request fields using the secret key and the HMAC SHA256 algorithm. To verify data, the security script generates a signature to compare with the signature returned from the Secure Acceptance server. You must have an active security key to activate a profile. A security key expires after 2 years. The security key protects each transaction from data tampering.
To create and activate a security key:
- On the “Profile Settings”page, click Security. The Security Keys page appears.
- Click Create New Key. The Create New Key page appears.
- Enter a Key Name (required).
- Chose signature version Version 1.
- Choose signature method HMAC-SHA256.
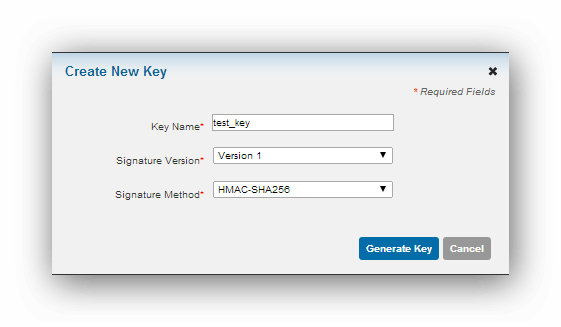
- Click Generate Key. The Create New Key window expands and displays the new access key and secret key. This window closes after 30 seconds.
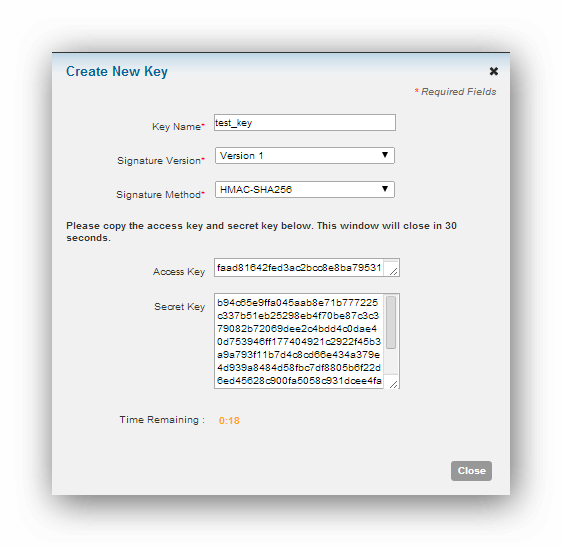
- Copy and save the access key and secret key.
Access key: Secure Sockets Layer (SSL) authentication with Secure Acceptance.
Secret key: signs the transaction data and is required for each transaction.
By default, the new security key is active.
8. Click Return to Profile home. The “Profile Settings” page appears.
Displaying a Customer Response Page
You can choose to have a transaction response page displayed to the customer at the end of the checkout process, and a cancel response page displayed during the checkout process. Enter a URL for your own customer response page or use the CyberSource hosted response pages.
To redirect a customer after Check-out:
- On the “Profile Settings” page, click Customer Response Pages.
- Under the Customer Redirect after Check-out heading, enter the URL for the custom page that the customer will be redirected to after checkout.
- Click Save.
Activate Profile
To make your profile active:
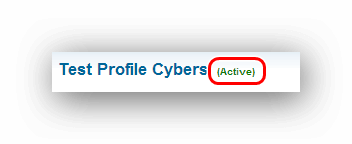
- On the "Profile Settings" page, click Promote to Active.
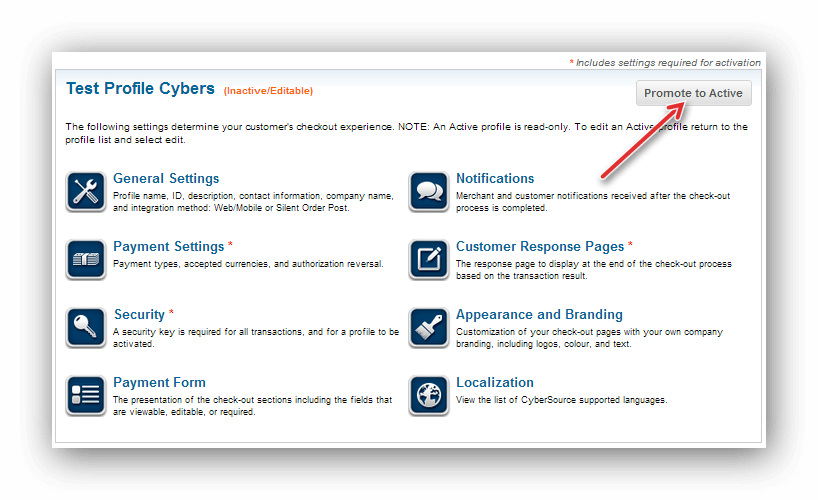
- Your profile is now active!
Drupal Site Configuration
- Install the Commerce CyberSource Secure Acceptance Web/Mobile contrib module.
- Check that the module Payment UI is enabled.
- From the Drupal admin menu, choose Store > Configuration > Payment Methods (or access path admin/commerce/config/payment-methods).
- Select Edit Operation for payment method rule “CyberSource Secure Acceptance Web/Mobile”
- Edit the rule action “Enable payment method: CyberSource Secure Acceptance Web/Mobile”.
- In the Payment Settings section enter the Secure Acceptance profile details.
- Enter Profile ID (configured during Step 3 - Secure Acceptance Profile)
- Enter Access Key and Secret key you created (see “Creating a Security Key” above)
- Select Transaction mode:
Test – for testing transactions (profile site https://ebctest.cybersource.com)
Live – for live transaction (profile site https://ebc.cybersource.com) - Set Transaction Type to “Authorize Funds”
- Locale (ex: English - American)
- Set Payment method to “Card”
- Enter text for Payment Submit Button Text.
- Click Save.
- On the Payment methods page, enable the rule for CyberSource Secure Acceptance Web/Mobile.
Now, on the completion of order you can select Credit Card as the payment method.
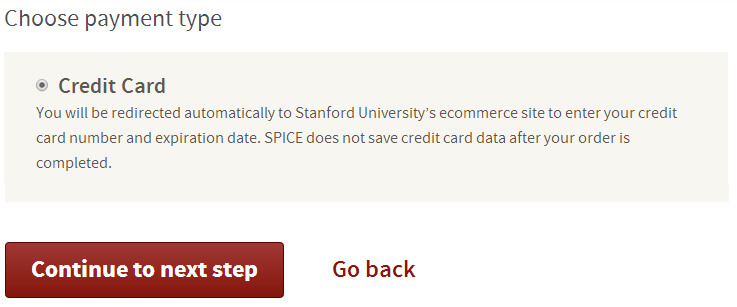
After you click on “Continue to Next Step”you wil berl redirected to the Cybersource site.
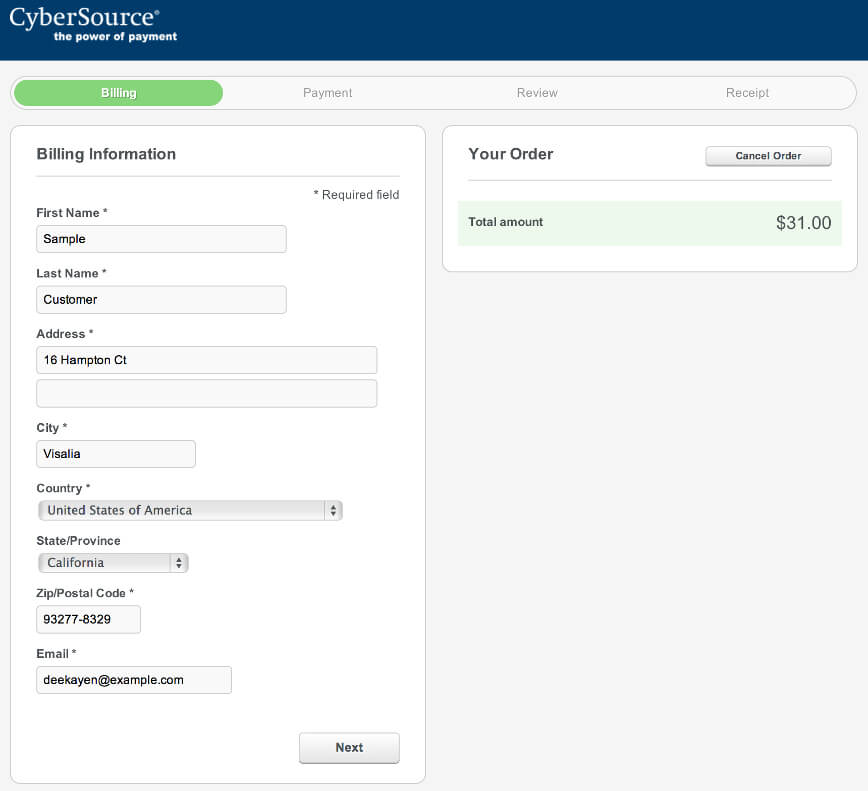
After completion, and the display of CyberSource payments details, you will be redirected back to your Drupal site.
And that's it! If you follow all of the steps above, CyberSource Secure Acceptance Web/Mobile should be configured on your Drupal 7 site in no time. Make sure to contact us if you are looking for a technology partner to help you ensure the success of your Drupal business or ecommerce website.
Good luck.